|
|
|
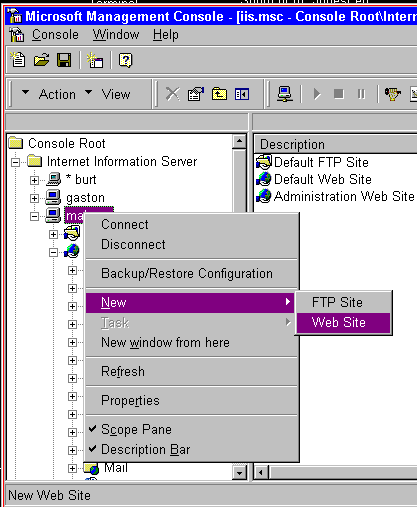
Once you have set up the DNS for that site, use MMC to create your new virtual web server. You can do this by right-clicking on the server name, then highlighting "New", and selecting "Web Site". (You must have NT Server to do this.)
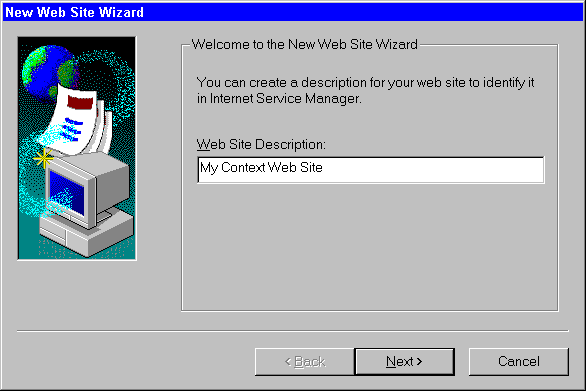
Describe your web site.
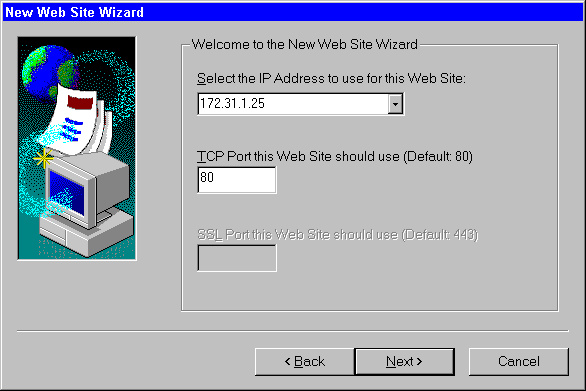
Specify the IP address. This is necessary.
Select or type in the directory name for your virtual server.
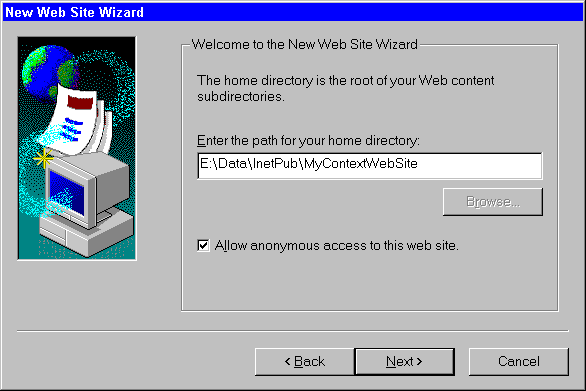
Select the necessary rights for this virtual server.

Click "Finish".
Immediately after you create the web site, right-click the new web site and choose Properties.
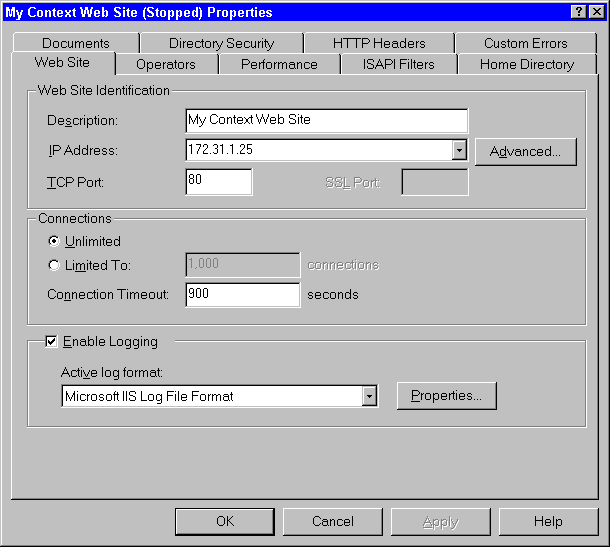
On the "Web Site" tab, beside the IP address combo box, click "Advanced…"
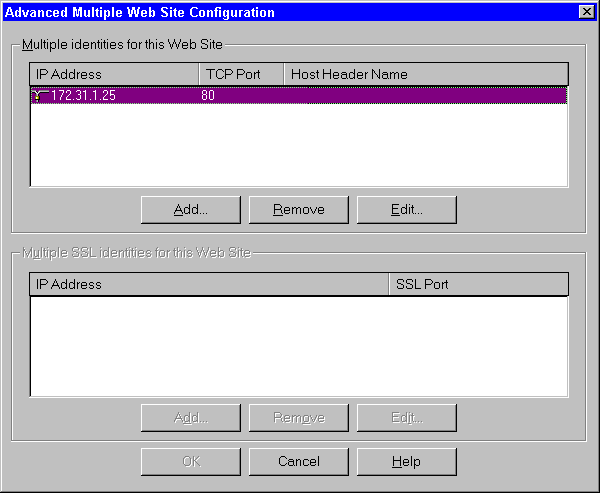
On this screen you will see the IP addresses that are assigned to this virtual server. Choose the IP address entry then click "Edit".
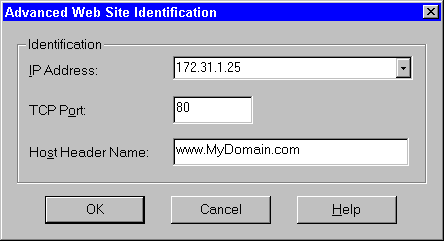
On the "Advanced Web Site Identification" form, enter the entire domain name, including the host name, in the "Host Header Name" text box.
Click OK, and you should see something like this:
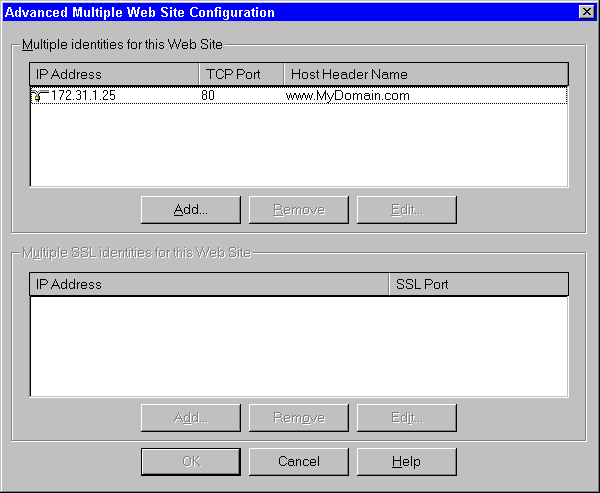
(If you need, for some reason, to have more context names then just add another address, fill in the port as "80", and put the next context name in there.)
That's all there is to it. Any web request that comes in for that IP address, and has that domain name in the request header, will go to this virtual web server. (any ambiguous name that gets resolved to this IP address will go to the default web site for this IP address)
Context
Based Servers Reverse
DNS DNS
Terms DNS
Concepts